director of photography
Untitled 23.jpeg

Lazareth Day for Night

How will I light this? is a question that I am constantly having to answer. To the director, producers or the crew - but mostly to myself. Some scenes light themselves: the right set, the perfect time of day, a great actor, and all you have to do is show up. But others require a more involved or technical approach. 

Multiple scenes in the movie “Lazareth” take place in the woods at night, a scenario that comes with a few challenges attached. What is my lighting motivation? What is the tone? And how can we accomplish it with the limited time and resources available? How will I light this?

The movie tells the story of Maeve and Imogen, two sisters raised in an isolated cabin by their Aunt Lee. Equipped with flashlights, they brave into the woods that surround the cabin and protect them from a violent world outside that they have never seen. Director Alec Tibaldi wanted the woods to feel as if they were out of a dark fable, a place that is imbued with just a bit of magic realism. They are the barrier that separates the sisters from danger - a wall that they consider their safety, but later come to discover is also their prison. For that reason, it was important to photograph the woods as much as the characters, and make sure the environment was present at all times, reflecting both of those ideals in different parts of the movie. This was crucial to create a sense of mystery for the characters and the audience.

Shooting in the woods at night means you’re starting from scratch. There isn’t any “available” light to build from, so everything needs to be brought in. That requires time, equipment and an adequate workforce. Any given shot might see hundreds of yards into the distance, creating large swaths of space to light. Otherwise you risk ending with lit characters in the foreground, floating against a black background, which wasn’t the desired effect. On top of that, you need to light not just what’s in front of the camera, but also the working environment, which only adds to the complexity of the work. Given our 17 day shoot, time was of the essence.

The remote location (about 1 hour drive for most crew members) wasn’t conducive to long work nights either. Those can lead to fatigue, low morale and even accidents, especially when you’re in the middle of a forest, during a muddy, wet winter.

Day for Night, an old hollywood technique where you’d shoot night scenes during the day seemed like a possible solution to all these problems (curiously called “American Night” in my native Portuguese language). Movies like Ad Astra, Nope, or Mad Max: Fury Road, brilliantly photographed by Hoyte Van Hoytema and John Seale, have really pushed the Day for Night effect into the 21st century, utilizing 3D camera rigs, infrared cameras or bold color correction and sky replacement techniques. But could we achieve a similarly pleasing effect without most of those tools? A technically proficient night look that is expressive and creative, hitting the right tone for the movie, making it feel bigger, dramatic and believable? And all of this in-camera, without requiring Visual Effects?

AD ASTRA, cinematography by Hoyte Van Hoytema

NOPE, cinematography by Hoyte Van Hoytema

MAD MAX FURY ROAD, cinematography by John Seale
 

- PREP -


I spent the first week of prep trying to answer these questions for myself, before mentioning Day for Night as an option. I wanted to make sure it could work before committing to what felt like a risky approach that doesn’t always render good results.

Whereas the difficulty of shooting at night is that there is no ambient light to work with, the opposite is true in Day for Night. Too much light and it won’t look like a night scene, so the trick is to make things look quite dark and/or contrasty.

Since the characters carry flashlights and drive motorcycles with headlights through the woods, those would become my motivation for the foreground lighting. For the background, I knew I had underexpose the available daylight until it become a soft top light that gently illuminated the world, creating a somewhat stylized take on moonlight. 

Balancing these elements was the trick to make it all work. Flashlights and motorcycles would normally overpower the moon, so that meant that any artificial lighting I used would have to be quite strong and overpower the daylight available. But by how much?

The first step was to understand how bright the available daylight was in these woods during the day. This would determine all my other decisions. The mature trees and the heavy cloud cover were a promising first discovery: I was getting readings of anywhere from 30 to 250 foot candles (Fc) in the middle of the day, averaging about 80Fc. 

(Foot candles are an empiric measurement unit of light, practical because they are independent of ISO, speed or shutter angle. For reference, a sensor at 800 ISO, 24fps, 180° shutter angle requires about 50 FC for a 5.6 exposure. 80Fc is a F5.6/8.0 split).

These numbers were… manageable. If I wanted to add light to my scenes, I could easily surpass 80Fc. Although - if the sun decided to come out, the available light levels would shoot up to 6000 to 9000Fc (6 to 7 stops higher), which would require too much light to combat, defeating the point of shooting Day for Night. Overcast weather was therefore a requirement.

But how much underexposure did I need in order to turn the available overcast daylight into a moody moonlight effect in the background? And just how much light would I have to add to make the foreground feel brighter and have the right balance between the two?

My first tests were to discover just that.

Shooting during an overcast day, I tried different levels of underexposure, and settled on minus 4 stops in order to turn the available daylight into our “moonlight”. This felt like the right amount to create a believable night effect, with enough mood and tone, but still holding on to a sense of space and depth. Letting some things fall into darkness or complete black was important for lighting continuity as well, since some of the Day for Night scenes would have to intercut with other scenes that were shot Night for Night. Considering the 5.6/8.0 median exposure of the available light, that meant stopping down to F22/32 to achieve the underexposure (these would not be my shooting stops, but were simply how I was doing the math). That was quite a bit.

As for the foreground characters, with their flashlights and headlights, after testing them at several stops overexposed (as measured at 6’ distance from the source), we decided to have them be just a bit over Key instead, to maintain maximum saturation and a moody look. So for those, I was looking at lighting to a F32 - F45 (1600 - 3200 Fc).

I tried to keep most elements in frame at exposure or under, since going above those values really started to ruin the feeling of “night”. Especially if any daylight sky crept into shot - it was quite bright and immediately ruined the effect. Since we didn’t have the budget for sky replacement, we would have to find lower grounds in the woods, where we could more easily avoid shooting up into the sky. 

The camera tests were done with a bright LED flashlight and a 1K Tungsten Parcan (Very Narrow Spot) to emulate the headlights and flashlights referenced in the script, as well as a Joker 800 HMI for fill with both Daylight and Tungsten balanced bulbs for comparison.

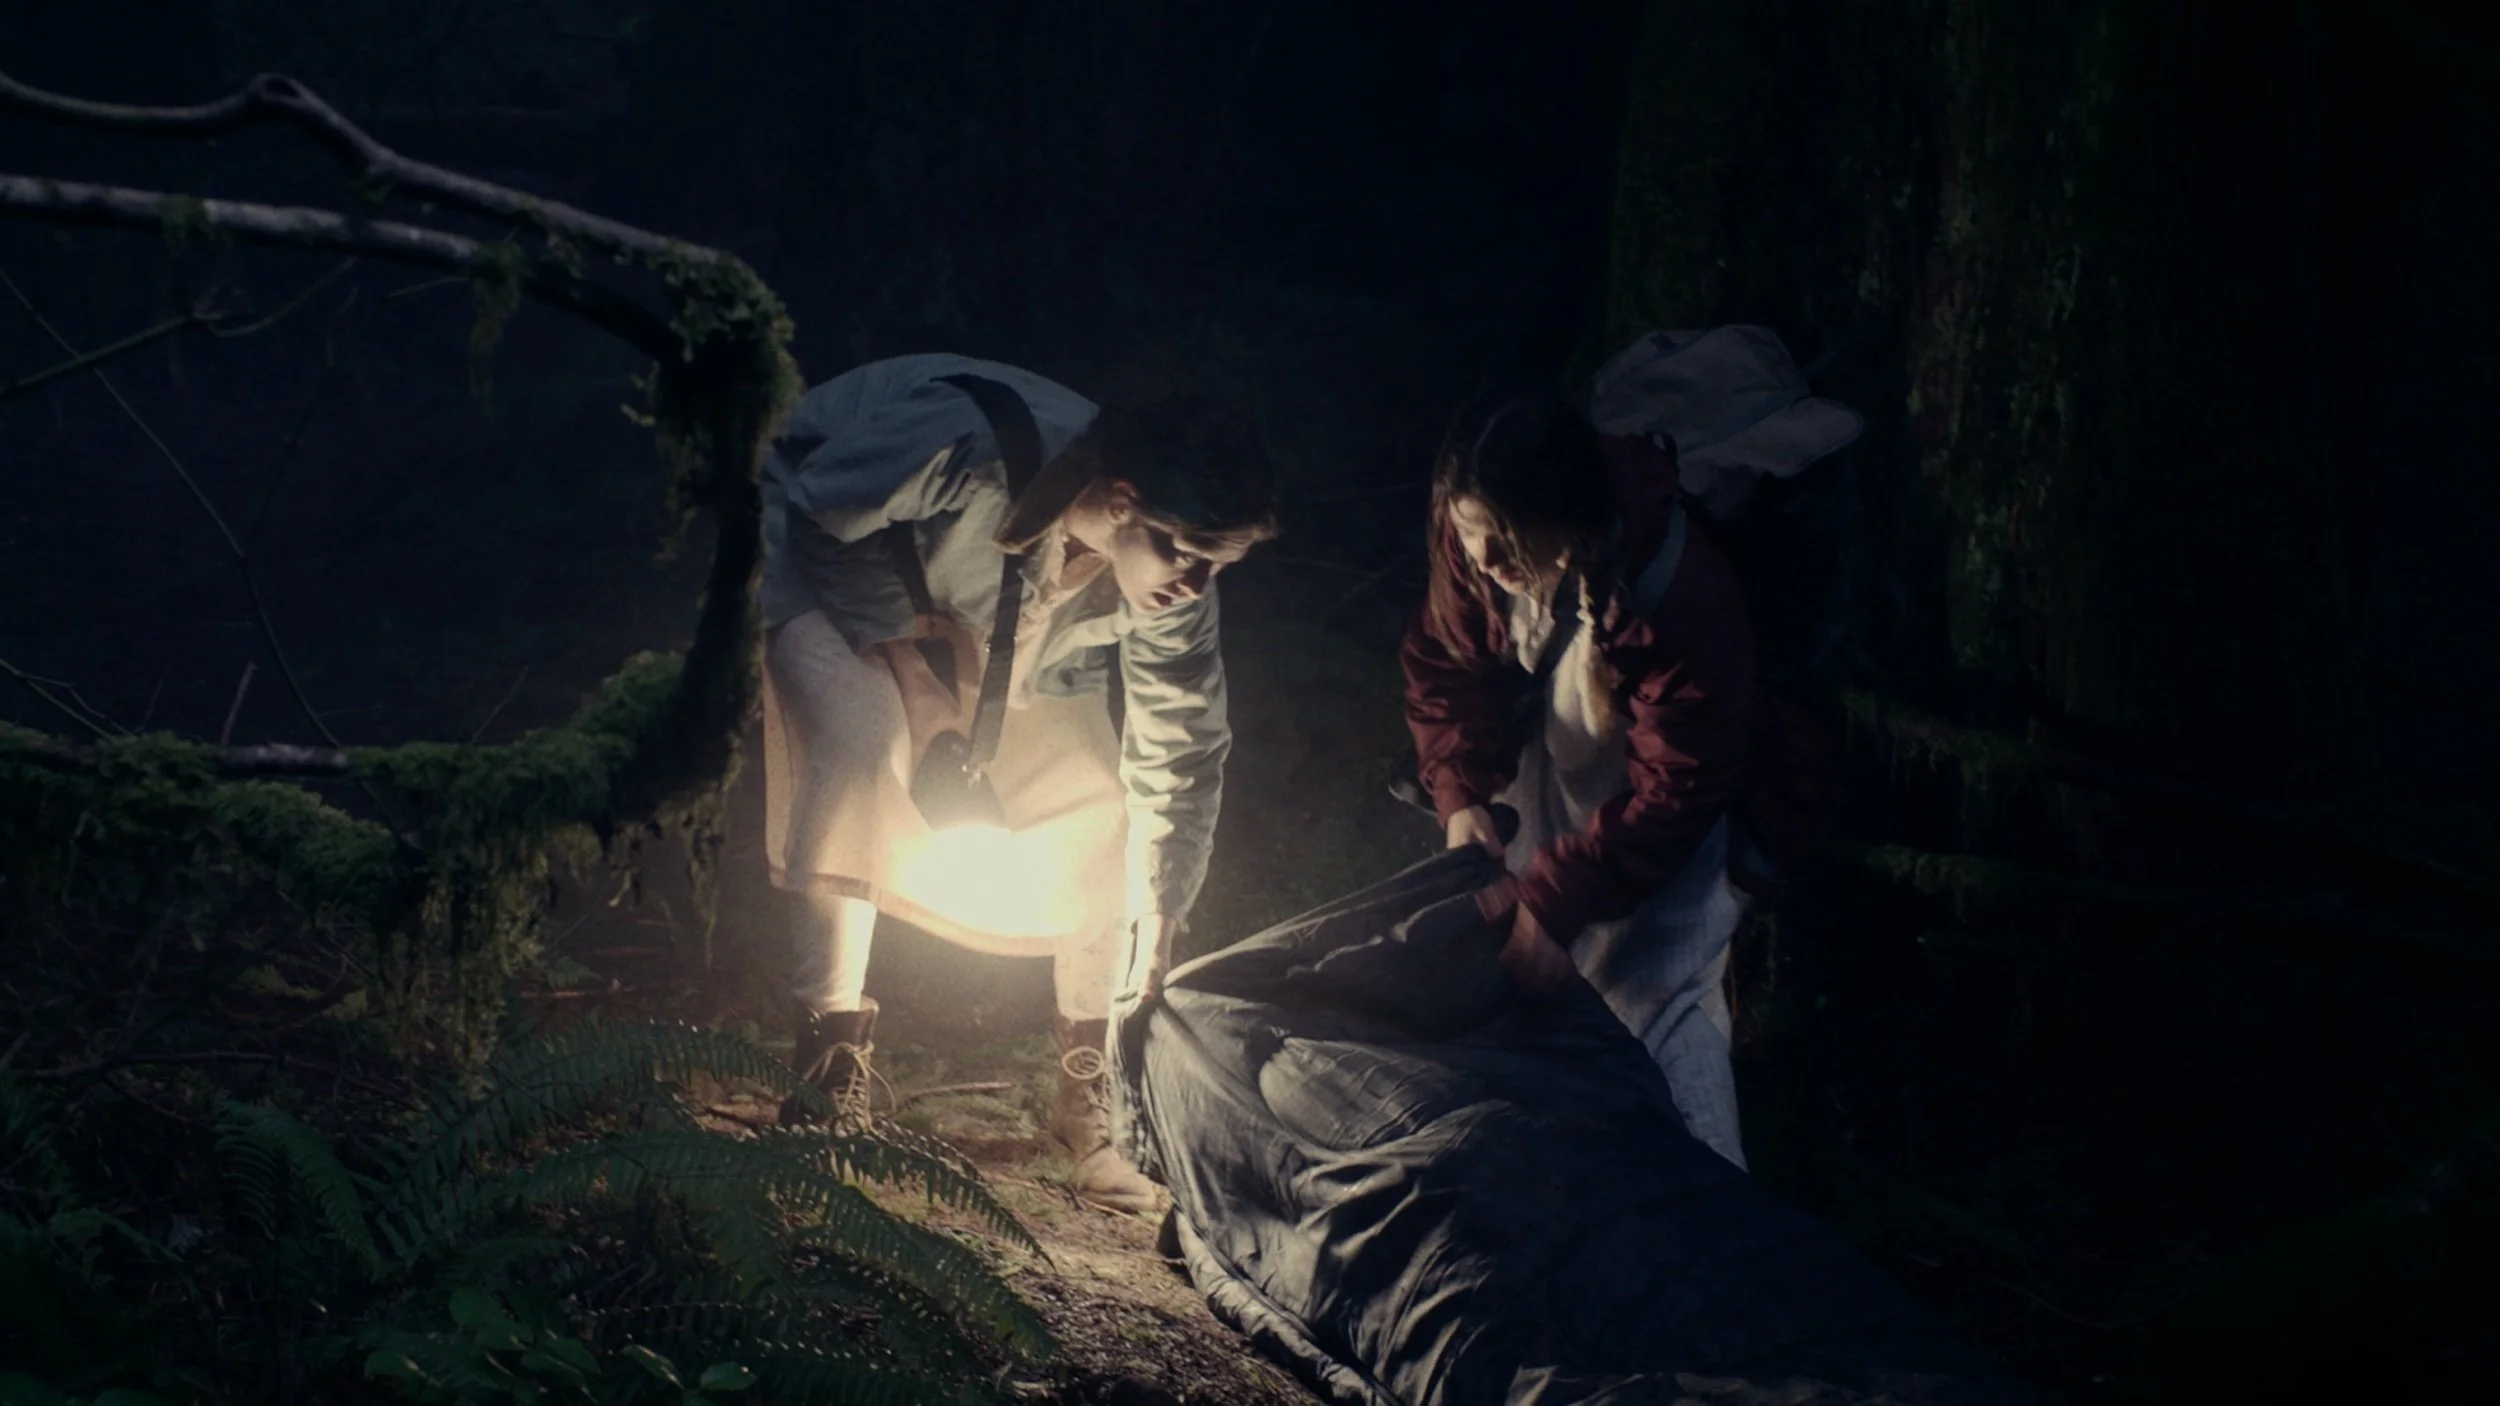
Once the tests were finished, we did a color session with the colorist, Sebastian Perez-Burchard at Tunnel Post, to create a camera LUT for these scenes. This LUT served a few different purposes: Firstly, minus 4 stops was a lot of underexposure. Fearing the loss of too much information in the original footage, I decided to have the LUT do about 3 stops of the underexposure for me, so I would only have to do 1 stop in camera. We selected the shots where I had underexposed by 1 stop in camera and worked with those to create the LUT, finding the right amount of darkness to impart the images. We crushed the highlights so there would be no real white in shot, and everything felt moody and dark. Finally, we cooled off the shadows and warmed up the highlights a bit. Our thinking was: anything lit by the moon should be dark and cool, but as things got brighter in the shot (when lit by the flashlights for example), they were allowed to have more warmth.


- THE SHOOT -

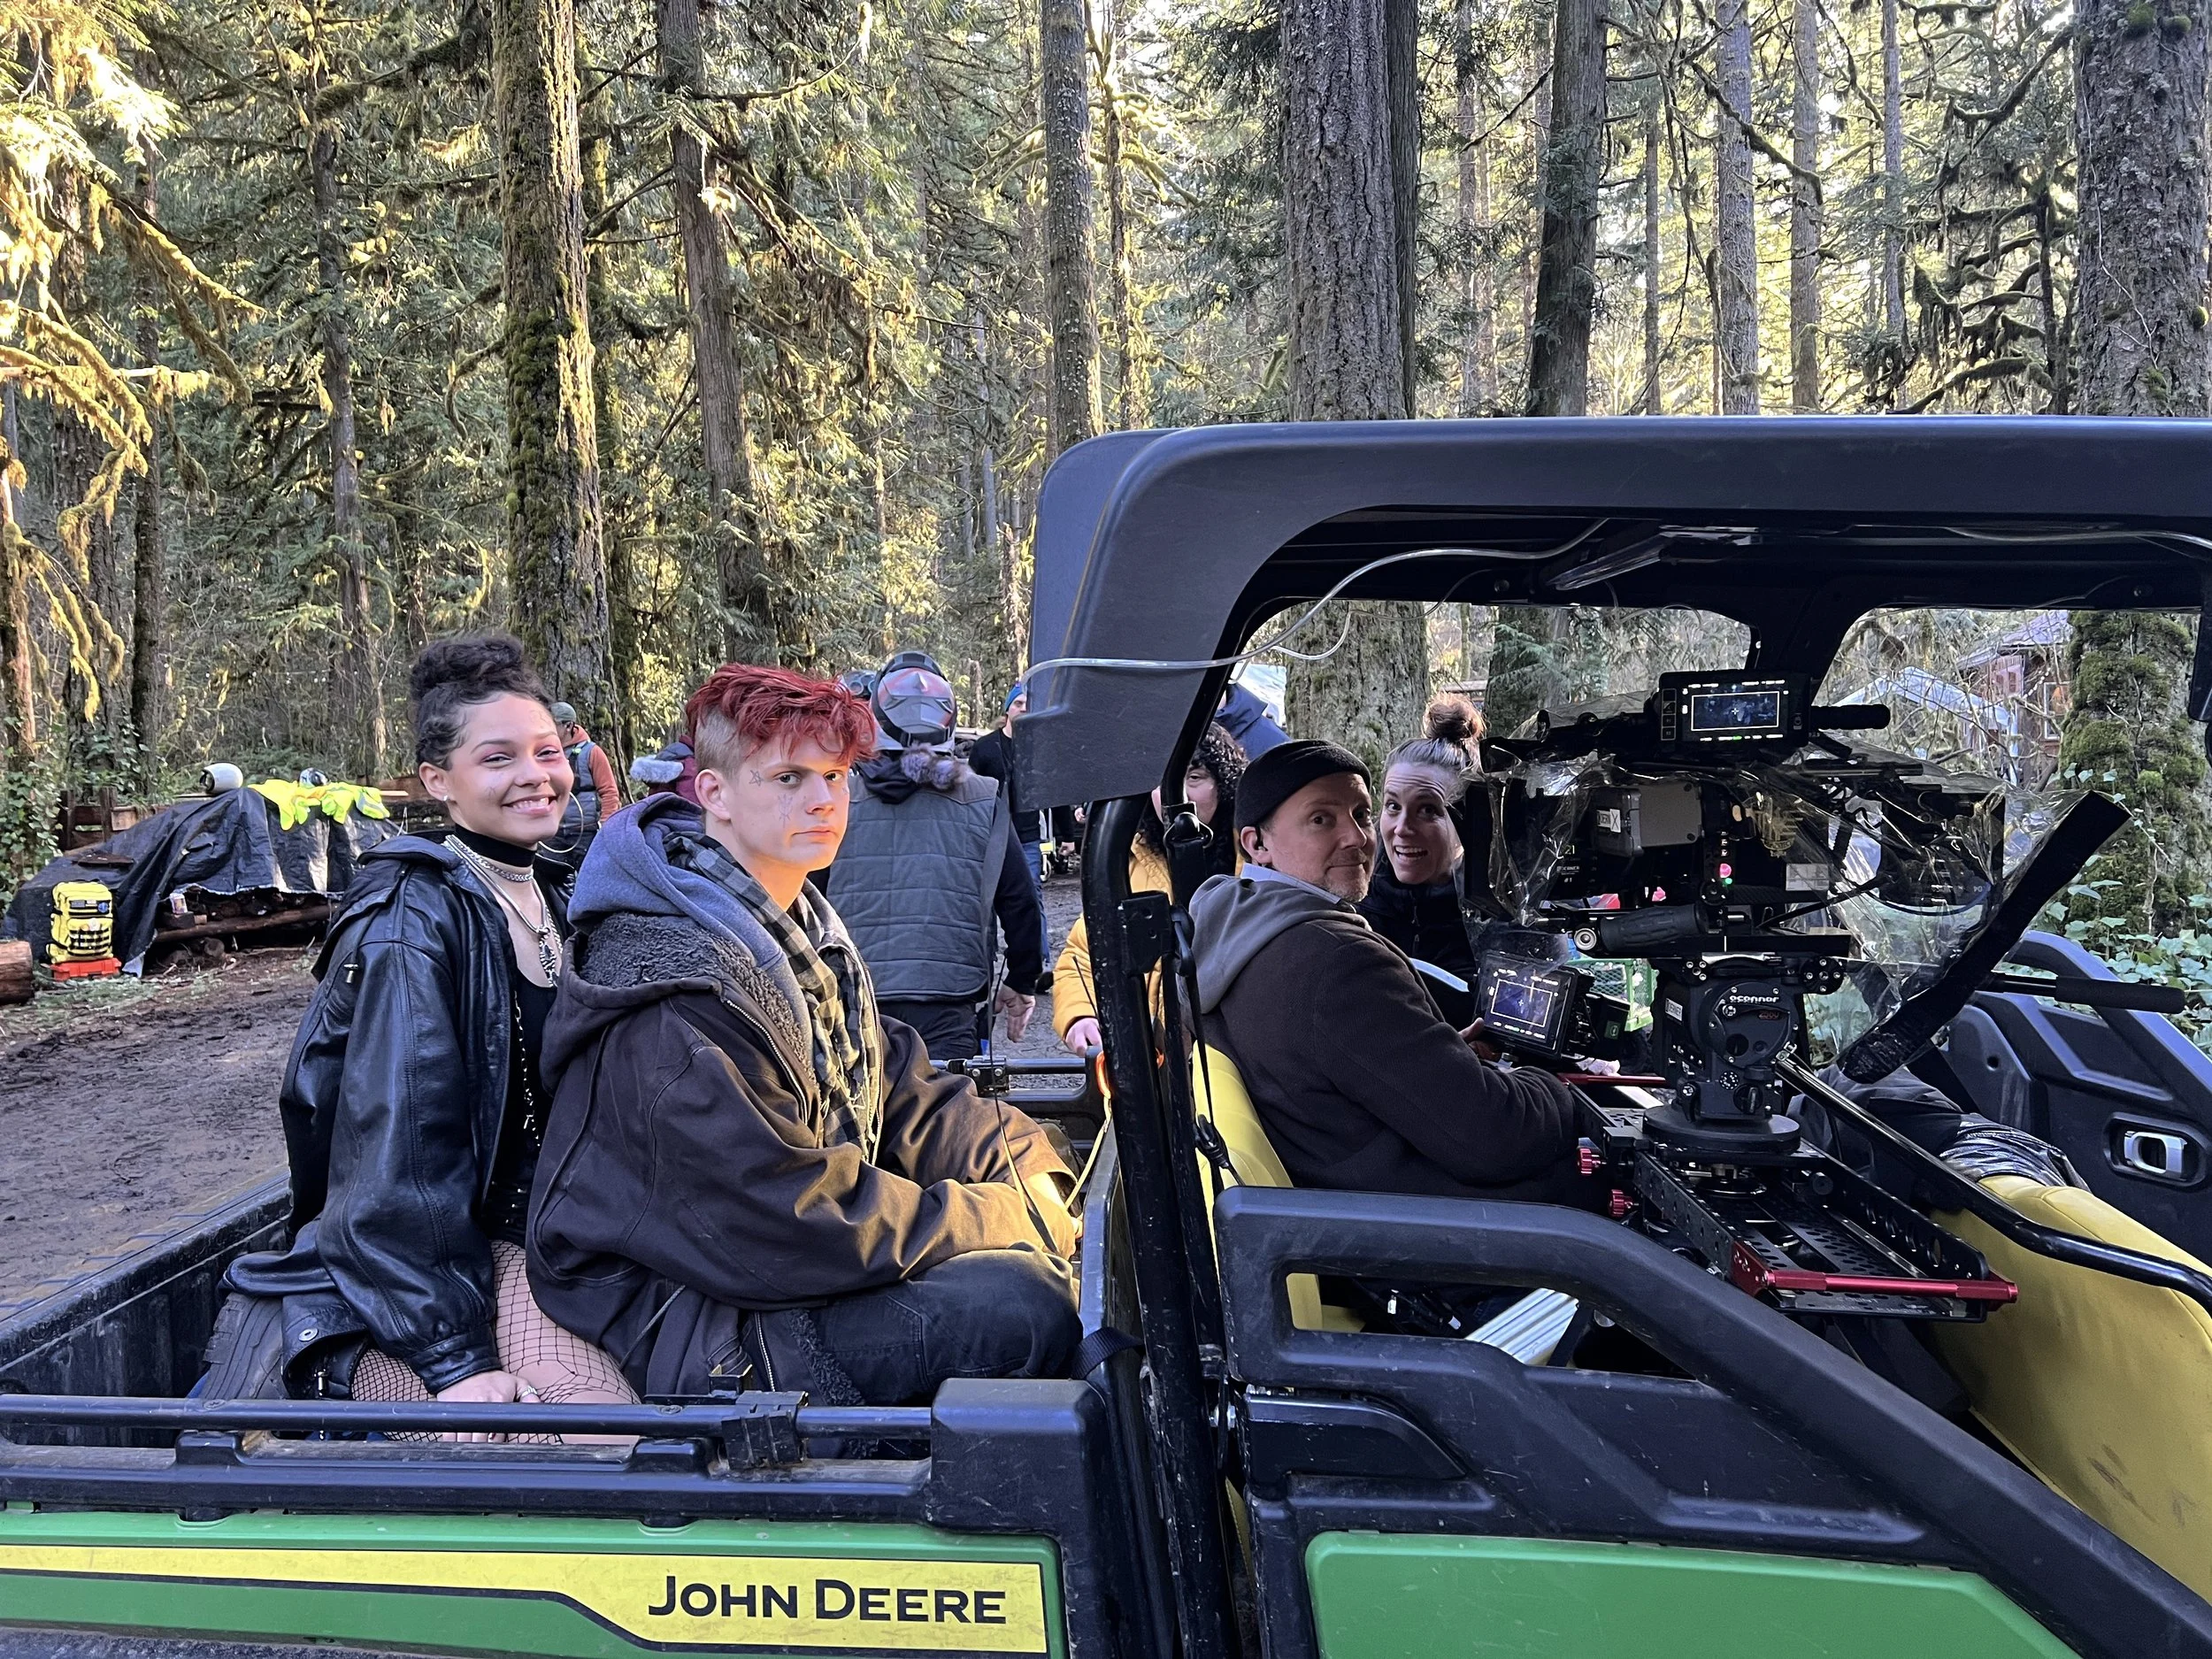
After all the testing, we had the pieces in place to make the Day for Night work. We obviously needed to schedule those scenes during the day, so we were now daylight dependent. This meant shorts days in the winter, and rushing to finish the work before sunset at 4pm. We also needed overcast weather or the effect wouldn’t work. This meant having a plan in place in case the sun came out: an alternative scene indoors to go shoot instead, or waiting for a cloud to appear. I was able to source a brand of extremely bright LED flashlights, which promised an output of anywhere from 10,000 lumens to 100,000 lumens (1,000 to 10,000 Fc) depending on how long you ran them for. This was more than the 1600 to 3200 Fc I needed so we ordered a few. At max output, we would get about 1 minute before the flashlight would overheat and turn itself off. We mostly used them in their third brightest setting, giving us 3000 Fc and about 4 minutes of runtime. They got extremely hot so we had to turn them off between takes, and the actors had to be careful handling them. The cast was absolutely instrumental in making the effect work, not only at a technical level, holding and pointing the flashlights in ways designed to create the desired lighting, but also delivering performances that helped sell the time of day. The soundscape of the woods at night is quite different than during the day, and seeing the actors track slowly across the woods to minimize sound, or whisper to each other really brought it all together into a cohesive look that fell into the background and allowed the story to develop.

For a sequence where the two sisters walk through the woods at night we wanted to emulate a soft warm bounce off the ground, as if the flashlights were glowing the woods around them. To create that, our Gaffer Christopher Alley used a Joker 800 HMI with a newly developed tungsten bulb inside a soft box which he carried around the woods, powered by a small suitcase generator. This bulb has the output of an HMI but the color balance of a Tungsten unit, which was the perfect for our needs. As the characters moved and aimed the flashlights in different directions, Christopher would “animate” the soft box and move it around so the bounce effect would match the movements of the actors, creating a natural effect that helped bring faces out from the underexposed background. The final piece to the puzzle was adding smoke in the distance, which allowed me to severely underexpose the backgrounds without completely loosing depth.

In another scene, one of the sisters is outside at night looking into a room lit by fire. We used a series of three 1k parcans on a Magic Gadget to emulate the flicker of the light coming through a crack in the wall. The area where this scene was shot didn’t have much tree cover so it was quite open and bright, which meant my lighting had to be very bright in order to underexpose the surrounding exterior.

I used as much negative fill as I could in order to shape the moonlight (that is, the existing daylight), and to darken certain areas of the frame, particularly the foreground. Darkening the camera facing side of the scene and cast turned the top moonlight into what felt more like a backlight. This allowed faces to be obscured and have higher contrast ratios more on par with a night scene. It also allowed the artificial lighting I was bringing in to shine more and stand out against the moonlight. Despite shooting in overcast conditions, I still scheduled the shots to be done “against” the sun as much as possible, just as I would’ve done for a day scene. Even through cloud cover, the light levels are higher in one direction than the other, so I used that to create shape and a sense of backlight. 


For the motorcycle scenes, several high powered headlights were attached to the chassis of the bikes by the art department. Christopher and his team then ran electrical wire to 12v. batteries that were strapped and hidden in the back, allowing the bikes to move freely. The same 12v. batteries powered small LED lights hidden on the gas tank or instrument displays to bring up the actors’ faces, as if they were being lit by the bounce of the headlights. For a few “poor man’s process” shots, where the actors were sitting on a 4x4 wheel vehicle in lieu of the motorcycle, we were able to use LED tubes for the same purpose since they could easily be hidden out of frame.

Costume designer Erin Aldridge Orr added decals and reflective elements to the wardrobe and helmets of the actors riding the bikes, creating another element that helped sell the night effect. Similar to the Scotchlite material used in the past for front-projection effects, these highly reflective decals work by sending light rays back to their original source. Made of microscopic glass beads that bounce light back towards the viewer with a coefficient of anywhere from 10 to 500, a little bit of light can go a long way and reflect back at very high levels, as if you’re looking back straight at the light source. For some of those shots we used a 2-way mirror in front of the lens so that we could light this material at the same angle as the capture lens, and therefore achieve a very bright result, that helped create the illusion of nighttime. 


- THE FINAL GRADE -

Most of the work was done with the LUT creation in prep and then the lighting on set, so when we got to the grade, the footage looked close to how we intended it to look. We did end up tweaking a few things though. For one, we allowed the highlights to clip a little more. The crushed highlights of the production LUT felt a little heavy handed and unnatural. We also tweaked how colors behaved depending on where they fell on the exposure curve. We liked the cooler shadows and warmer highlights of the camera LUT, and we ended up doing a similar treatment to the overall saturation, allowing colors to be more saturated as they got brighter, but leaving them more monochromatic when left in the shadows. This was particularly visible in the green foliage. The greens were kept cool and desaturated unless they were hit by the light, in which case they would have more yellow and saturation brought back in. Power windows also allowed us to create some darker corners in the frame. One of the advantages of Day for Night is that it brings information and scope to the frame, but that can work against you so it was essential to let some things fall away into black. This darkness helped match the Day for Night with the scenes that were shot Night for Night, creating an homogenous look that feels seamless.

- THE FINAL GRADE -

In hindsight, I wish I had underexposed more in camera and less on the LUT, since some of the bright practicals often clipped and were blown out in the original footage. The information I was able to retain in the shadows by not underexposing in camera turned out not to be essential. Shooting Day for Night was instrumental in how we achieved the look in Lazareth though, and it was also a lot of fun to figure out. After having experimented with Day for Night a few times before, this was by far the most satisfying process and best results I have achieved. Testing was essential in managing and figuring out all the challenges presented, and slowly building the approach, as well as relying on the amazing crew and other departments to help bring it all together. I hope to use it many more times in the future and continue to find ways to make it a viable technical and creative tool.